Welcome to this quick start guide to Brightspace
This workbook has been designed to help all students who are new to Brightspace, the university's virtual learning environment (VLE).
In this resource, you will find some information on what a VLE is as well as how to navigate Brightspace. You will also find a list of useful resources about tools your instructor might use in Brightspace.
A quick note about using this quick start guide
All of the images and screenshots in this quick start guide are responsive. This means that when you click on an image, this image will be enlarged on the screen. To get back to the resource, simply click anywhere on the screen.
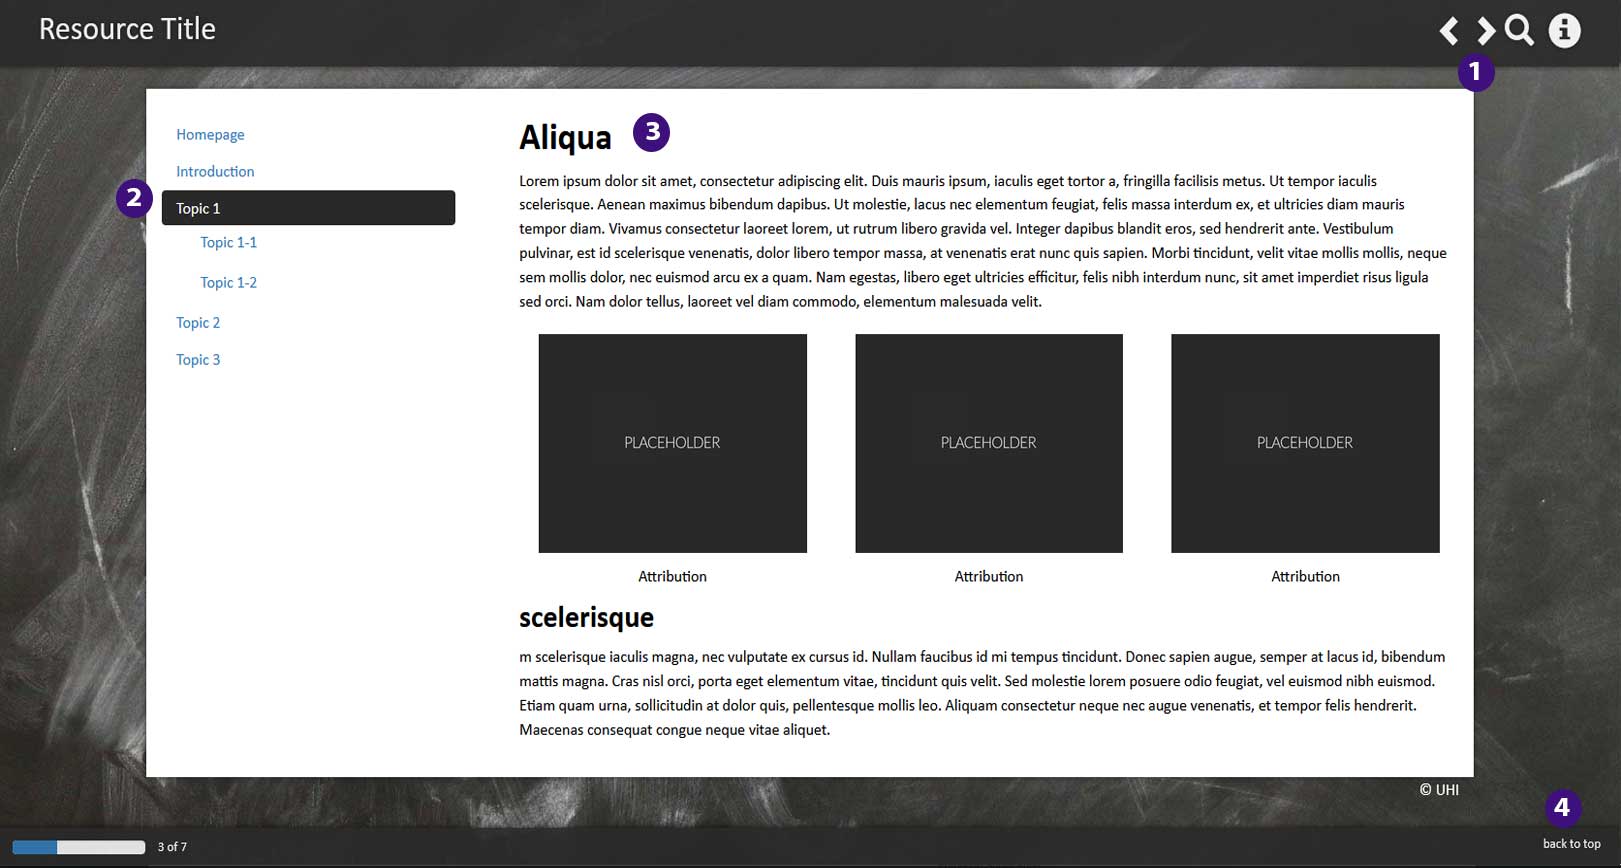
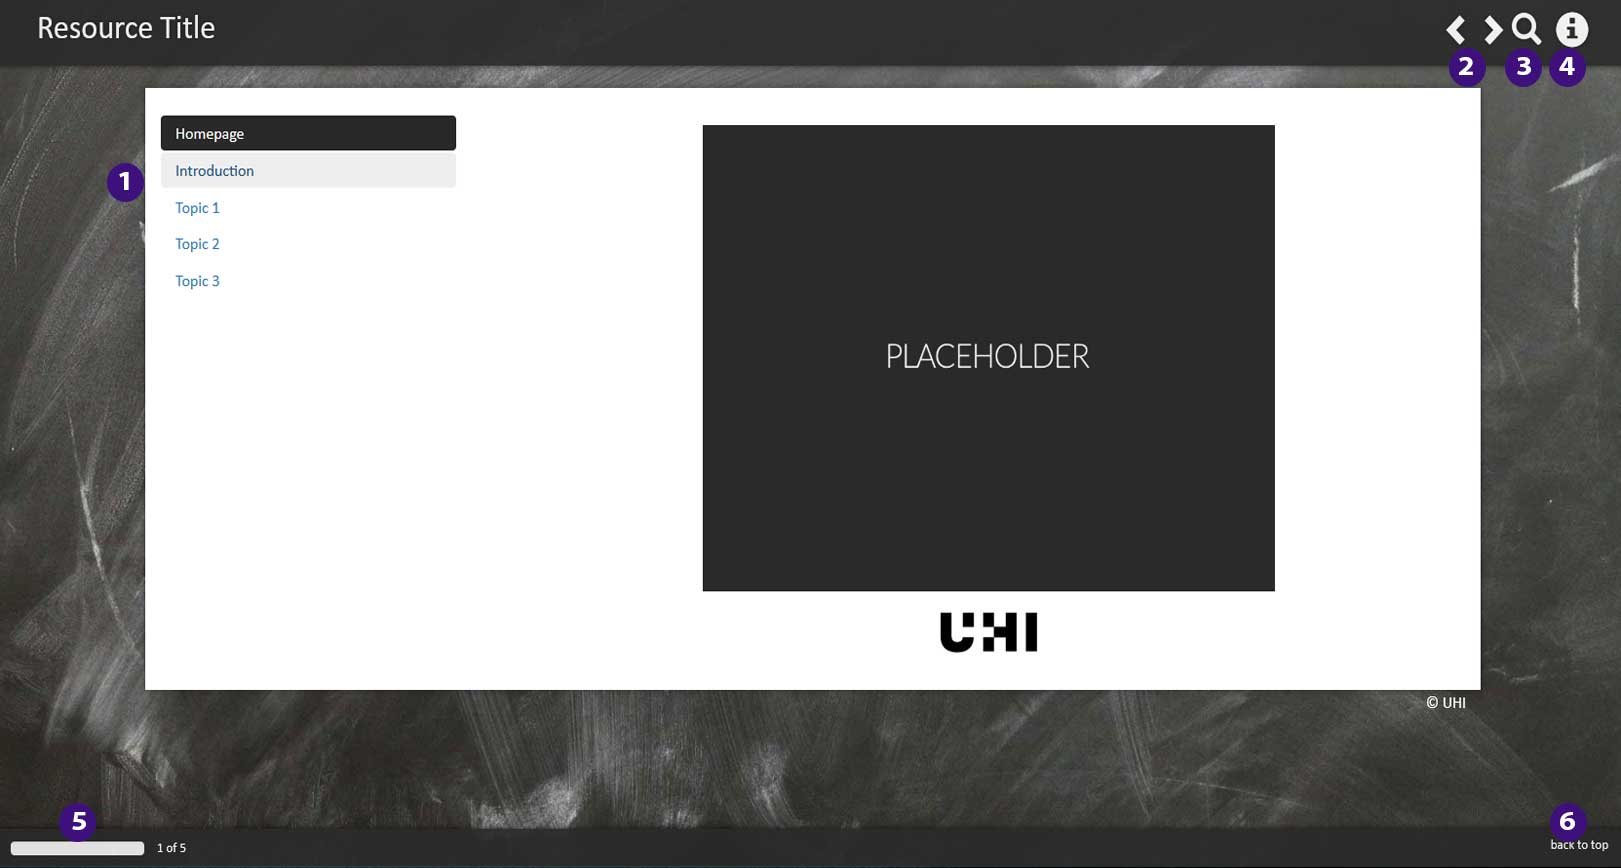
You can navigate this quick start guide either by using the table of contents on the left-hand side or by using the arrows in the top right-hand corner. Subheadings will become visible when you click on the main heading.
What is a Virtual Learning Environment (VLE) and which VLE is used at UHI?
A virtual learning environment (VLE) is an online platform that can be used by lecturers to provide you with readings, lecture notes, recordings, PowerPoint presentations and other types of content. It can also be used to set up activities and assessments for you. Activities and assessments include discussion boards, quizzes with different types of questions (Multiple Choice, True/False, Short Answer, Written Answer, etc.) and assignment folders where you can submit documents, etc.
The VLE used at UHI is called Brightspace.
Activities in a VLE can either be synchronous (happen in real time, e.g. online tutorial) or asynchronous (time-flexible such as quizzes, discussion boards and assignments, as well as any readings and other learning materials, which can be completed in your own time).
Brightspace basics
In this part of the quick start guide, you will find
information on how to log into and navigate around
Brightspace as well as how to complete your profile, how
you will be notified about changes in your course
and how you can communicate with teaching staff and your
fellow students.
In the rest of this section you will find information on how to navigate the VLE. You will also find out more about how to complete your profile (this will help you have a presence on Brightspace when you need to communicate and work remotely with classmates).
Logging into Brightspace
All browsers will run Brightspace however Safari, Chrome or Firefox are recommended.
To log into Brightspace, simply enter your student ID and UHI password (Figure 1).
 Figure 1: Brightspace login page
Once logged in, you will see, in the top left-hand corner of your page, the UHI logo. This is your home button and will always take you back to your ‘My Courses’ page (Figure 2).
 Figure 2:
UHI logo in the top left-hand corner of the Brightspace homepage
Navigating Brightspace
When you log in, you should see the My Courses area. Here, you should see any modules/units/courses you are enrolled on (Figure 3).
 Figure 3: Brightspace hompage
The Minibar (Figure 4) can be found on the top right of your Brightspace homepage.
 Figure 4: Minibar
The Minibar provides quick access to a number of day to day items you may wish to use in Brightspace.
The Minibar provides access to the messages (Figure 5), subscription (Figure 6) and notification (Figure 7) tools in Brightspace.
 Messages, Figure 5
 Subscriptions, Figure 6
 Notifications, Figure 7
Next to the messages, subscription and notification tools in Brightspace, you will see a waffle icon (Figure 8). Selecting this enables you to toggle between the modules/units/courses you are enrolled on
 Figure 8: Minibar with Waffle icon
Locate and select the waffle icon (Figure 9). This will provide a list of all your modules/units/courses you have access to.
 Figure 9: Minibar with Waffle icon
Select the ‘pin’ icon next to any given module/unit/course to pin the module/unit/course (Figure 10).
 Figure 10: List of courses with pins
A solid pin indicates that the module/unit/course is already pinned. Clicking on the pin again will unpin the course, and you will see an “empty” pin (Figure 11).
This feature can help you prioritise which modules/units/courses you would like to see highest up on the list of courses in the waffle icon drop-down or on your homepage. If you want to completely change the order in which your courses are displayed, unpin all of them and then pin them in reverse order as the most recently pinned course will always appear in the first (top) position.
 Figure 11: Solid and "empty" pin
When you first enter a module/unit/course homepage, you will see something similar to Figure 12 on the right. This is the module/unit/course homepage which has the following elements:
- UHI logo:
click on the logo to go back to the My Courses area/Brightspace homepage - Module/unit/course title:
click on the title to return to this module/unit/course homepage no matter where you are in the module/unit/course - Minibar:
edit your profile or your notification settings; access messages and notifications - Navbar:
quick access to a number of useful shortcuts for day to day learning - Slim Announcements tool:
quick access to any announcements, your instructor might post about the module/unit/course - Visual Table of Contents/Visual TOC:
this is a shortcut to your content in Brightspace - Teaching Staff widget:
quick access to information about your instructor - Calendar:
quick information about due dates and other important dates
 Figure 12: Module/unit/course homepage
As mentioned above, the Navbar can be found in any of your module/unit spaces just above the banner (Figure 13). It allows you to navigate to the various module tools available to you in each of your modules/units in Brightspace. It provides quick access to:
- The content area: quick access to your learning materials and activities
- The communication and collaboration tools:
quick access to announcements, blog, classlist, discussions, ePortfolio, groups, virtual classroom and the chat - Other course tools: quick access to awards, assignments, checklist, class progress, grades, and quizzes
- Library resources: quick access to module reading lists, library homepage, LibGuides, referencing guides, eResources
- Help resources: quick access to Essential Student Skills pages, student support, HISA, system check, UHI Servicedesk
- Accessibility: quick access to a resource showcasing Brightspace's accessibility features, UHI's accessibility statement and a support resource 'Disability matters'
 Figure 13: Module/unit/course navbar
Completing your profile
One place in Brightspace where you can provide brief information about yourself, and a picture, is the profile area which can be accessed via the minibar (Figure 19 below). This information will be available throughout Brightspace.
We would recommend completing your profile to give other students and your instructor .
Step 1:
From the Brightspace home page, navigate to the Minibar and click on your name (Figure 14).
 Figure 14: Name in the Minibar
Step 2:
From here, select Profile (Figure 15).
 Figure 15: Drop-down menu under name
Step 3:
Next, select Change Picture (Figure 16).
 Figure 16: Change Picture area in the Profile
Step 4:
This will open a pop-up window. Select My Computer to upload a profile picture from your computer (Figure 17).
 Figure 17: Upload pop-up window
Step 5:
Next, drag and drop your new profile picture, or select Upload to browse for an image (Figure 18).
 Figure 18: Drag and drop pop-up window
Step 6:
When the picture has been uploaded, click on the blue Add button (Figure 19).
 Figure 19: Blue add button to add image
Step 7:
Underneath your new profile picture, select Tagline. Here you can enter in any relevant information that relates to you. Below that, in the Interests/Hobbies area, you can choose to provide any other information you might want fellow students to have. Once completed select Save and Close to update any changes (Figure 20).
 Figure 20: Tagline and Interests/Hobbies boxes in the Profile
Notifications
In Brightspace you can set up how (and how often) you would like to be notified of course activity. To customise the Notifications function, follow these steps:
Start by clicking on your name at the top right of the screen; and from the dropdown list select Notifications (Figure 21).
Note: The first thing you will see on the Notifications screen is an advert for the Brightspace Pulse App (Figure 22). It is a good idea for you to download this app (available for Android and IOS). Pulse will help you to keep informed about announcements and changes in your course sites.

Figure 22: Pulse app advert

Figure 21: Notifications button
The rest of the screen is divided into five headings. First, let's look at Contact methods.
In Contact methods you will see the email address that Brightspace will use to contact you. (Figure 23)
Note: You cannot switch or add an alternative email address to this but if the address you see is wrong in any way, please contact your lecturer.

Figure 23: Contact methods
In Summary of activity, you can choose how often you want a summary of activity for each of your courses (units or modules). The choices are: Never, Daily, and Weekly (Figure 24).

Figure 24: Summary of activity
Next there is a long list of tick boxes: Instant notifications. A tick in a box means that you will receive an email when that condition (e.g. a new announcement is available) is met (Figure 25).

Figure 25: Instant notifications
In Customize notifications you can choose to include grade values in Grades notifications and/or allow future courses to send you notifications (Figure 26).

Figure 26: Customise notifications
Finally, in Exclude some courses you can, by clicking on Manage my course exclusions, exclude some of your units and modules from your notifications settings.
When finished, click Save. (Figure 27)

Figure 27: Exclude some courses
Communication
In this part of the quick start guide, you will find
information on how to communicate with fellow students via
instant messages, and the chat tool, as well as seeing how
lecturers may communicate with you, through
announcements.
Instant Messages and the Chat tool
In Brightspace you can use the Instant Messages tool to send messages to fellow students.
The easiest way to send an instant message to fellow students in Brightspace is to go via the Classlist.
To get to the Classlist, click on the Communication and Collaboration drop-down menu in the navbar and select Classlist. (Figure 29).

Figure 28: Communication and Collaboration drop-down menu
Once you are in the Classlist, you can select either all, a few or just one student.
Note: You can also select Lecturer/s, so be careful which boxes you tick!
To send an instant message, click on the Instant Message link above the classlist. (Figure 30)
A pop-up window will open. Here you will see the recipients you selected and can compose the instant message. The box is small but will expand as you write (you can also pull the bottom right corner to expand the popup).
When you are done, click on the blue Send button. (Figure 31)
Your lecturer might also choose to set up chats for either all students or groups of students.
The Chat tool
The Chat tool is a real-time, text-based collaboration tool. It can be used to brainstorm ideas, ask questions as a group, have a discussion, or just catch up. As opposed to other collaboration tools, such as Discussions, Chat conversations occur in real-time.
You access the Chat tool via Communication and Collaboration in the navbar (Figure 33).
There are two types of chats: Personal and General.
Your lecturer may set up specific personal (e.g. for assignment feedback) and general chats

Figure 32: Chat tool
Personal chats are private and visible only to users who have been added to the chat’s participants list (by a lecturer). They can include any number of people and are ideal for group work activities and communicating with your lecturer.
General chats are open to everyone enrolled on your unit or module. Again, your lecturer can set these up in advance and give them specific names and purposes.
In the top right of Figure 34 (opposite) you will see a button called Settings. When you click on that you can make useful choices regarding the order of messages and the notification sounds the system makes when someone joins, leaves or posts a message.

Figure 33: The Chat List
Announcements in Brightspace
When your lecturers create or edit content in your module/unit/course area, or they want to draw your attention to an important event that's coming up, they will probably communicate this with you by posting an announcement. It's important that you know where to look for announcements and how to make sure you receive notifications about them.
There are two places to view announcements in a Brightspace unit or module. The first is on the home page (Figure 35). When you first enter a unit or module, on the left-hand side of the screen you will see a heading: Slim Announcements. The slim announcement tool is designed to limit the amount of space taken up by announcements (approximately 60 words max). To see the full text, and any embedded images, of an announcement, click on the title of the announcement.
Note: You may also see at the bottom of a slim announcement, a link to 'read more'. That will also take you to the full text.

Figure 34: Slim announcements
Another way to view announcements, is to click on ‘Communication and Collaborate’. on the navbar, then select ’Announcements’ (Figure 36).
Notifications: As mentioned earlier, you can set up instant notifications to be sent an email any time your lecturer either updates an existing announcement or posts a new one.
To edit your notification settings, click on your profile picture at the top right of the Brightspace screen, select Notifications and scroll down to 'Instant notifications'. In that section you will find the options related to announcements (Figure 37).
Further resources
Further information and help resources for students
Essential Student Skills pages
Your main port of call for a wide variety of guidance, including Brightspace, is the Essential Student Skills suite.

Figure 37: Essential Student Skills suite
Brightspace Help drop-down menus
In each Brightspace unit or module, you will find the Help drop-down menu, and the Library Resources drop-down menu (Figure 38) .
Both contain many helpful links you will find yourself visiting frequently during your studies.
![]()
Figure 38: Course Tools, Library Resources and Help drop-down menus in the Brightspace navbar


 Figure 31: Envelope (Messages) in the Minibar


